It's fun to tune the car right out of the box and it certainly feels much better than stock with more boost and a little more aggressive ECU mapping (for more about this, check out our Part 1 blog here). Our problem remains, though, that the stock components have such a low performance ceiling. The catalytic converters are extremely restrictive and the exhaust piping is small in diameter. This prevents the turbo from pushing further, as well as the cylinder from clearing and allowing you to advance timing and allow more air to move into the cylinder. The wheels are bulky and heavy and for being as small as they are, they certainly don't correspond with any weight advantage. After taking the car to the track with the completely stock suspension, brakes, and all season tires (which was really just to create a baseline, we knew we weren't going very fast without upgrading all this), it was clear that there was a huge amount of improvement to gain from a few basic upgrades.
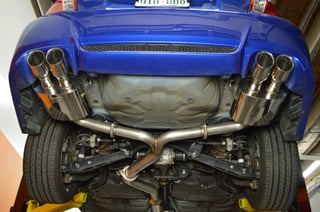
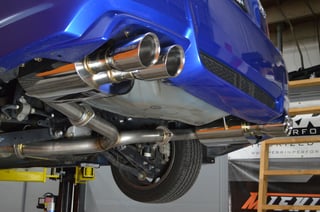
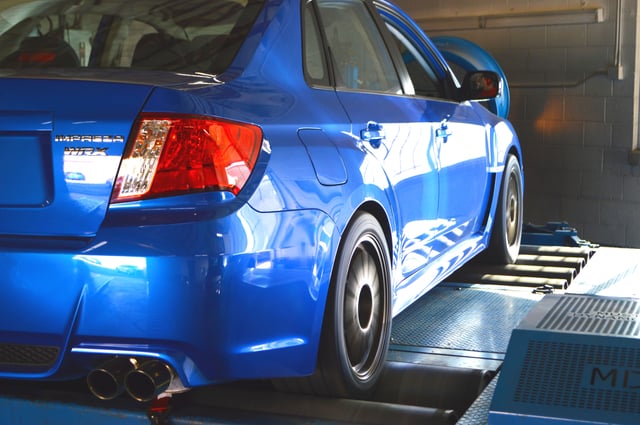
Turboback Exhaust - Grimmspeed Downpipe, Greddy Catback
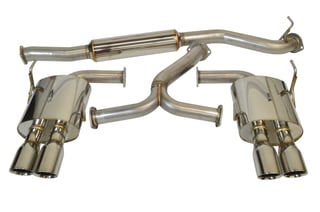
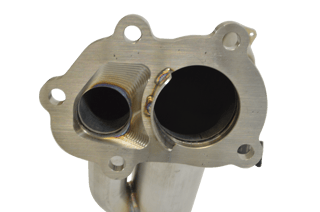
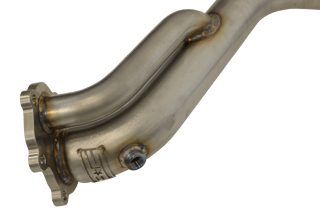
After using Project Blue Boxer to do some exhaust sound testing on a few different setups, we landed on the Greddy Supreme SP catback exhaust. This exhaust sounds really nice from bottom to top. It's not annoying, it's not raspy, it doesn't drone. It exposes the beautiful boxer notes perfectly and is extremely enjoyable. In addition, the polished quad tips get me staring every time I have a chance to look at the back of the car. The exhaust fits absolutely perfect. We're more than pleased with this setup. In between the catback and the turbo, we selected a catted downpipe from Grimmspeed to suit our needs. At the end of the day, this is still a street car and we want to respect the environment this is built for so we put a catted version in there. It's not as high flowing as a non-catted version but it's certainly a lot closer to it than the factory, heavily restricted downpipe which features more than one cat and smaller diameter piping. Trust me, if you're on a similar upgrade path, you're going to feel the downpipe upgrade in your seat, even with a high flow, single cat setup.
 |
 |
 |
 |
 |
 |
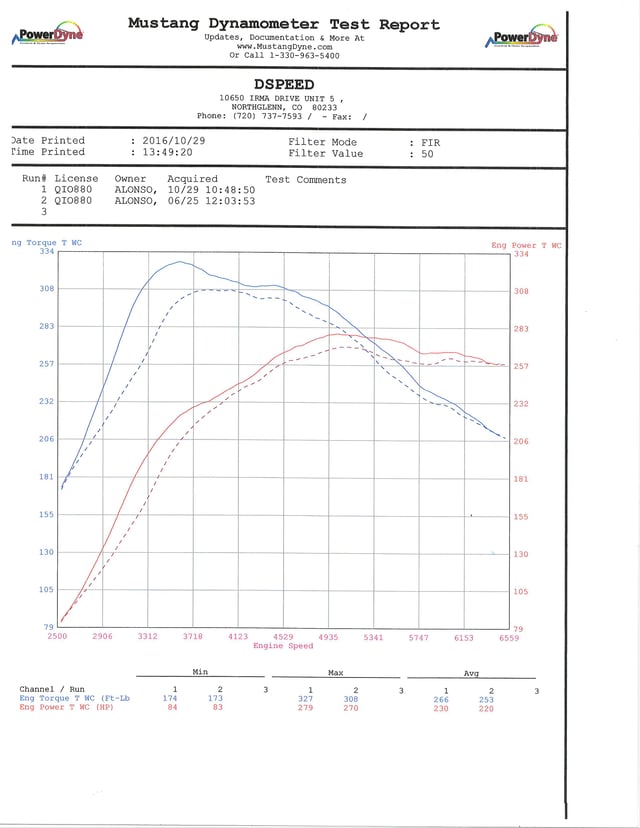
Of course, with how much the car is influenced by the ECU these days, we wanted to maximize our gains by custom tuning it again, using the Cobb AccessPort, and making the necessary changes to make a solid power and torque curve. To say that our power increased wouldn't be doing the parts justice. The entire curve moved up, allowing way more power throughout the entire RPM range. The peak hp and torque didn't have nearly the change that the rest of the graph did, which is exactly what we cared about the most. Take a look at the graph and see for yourself. Our peak numbers improved by 9 whp and 19 wtq which is not nearly the whole story. In certain places lower in the rpm range, the graph shows improvements of around 50 wtq!! If none of this makes sense to you, just know that the car feels way faster and more powerful than before. It is 100% noticeable and best of all, just puts a smile on your face when you punch the gas.
Brake Upgrades
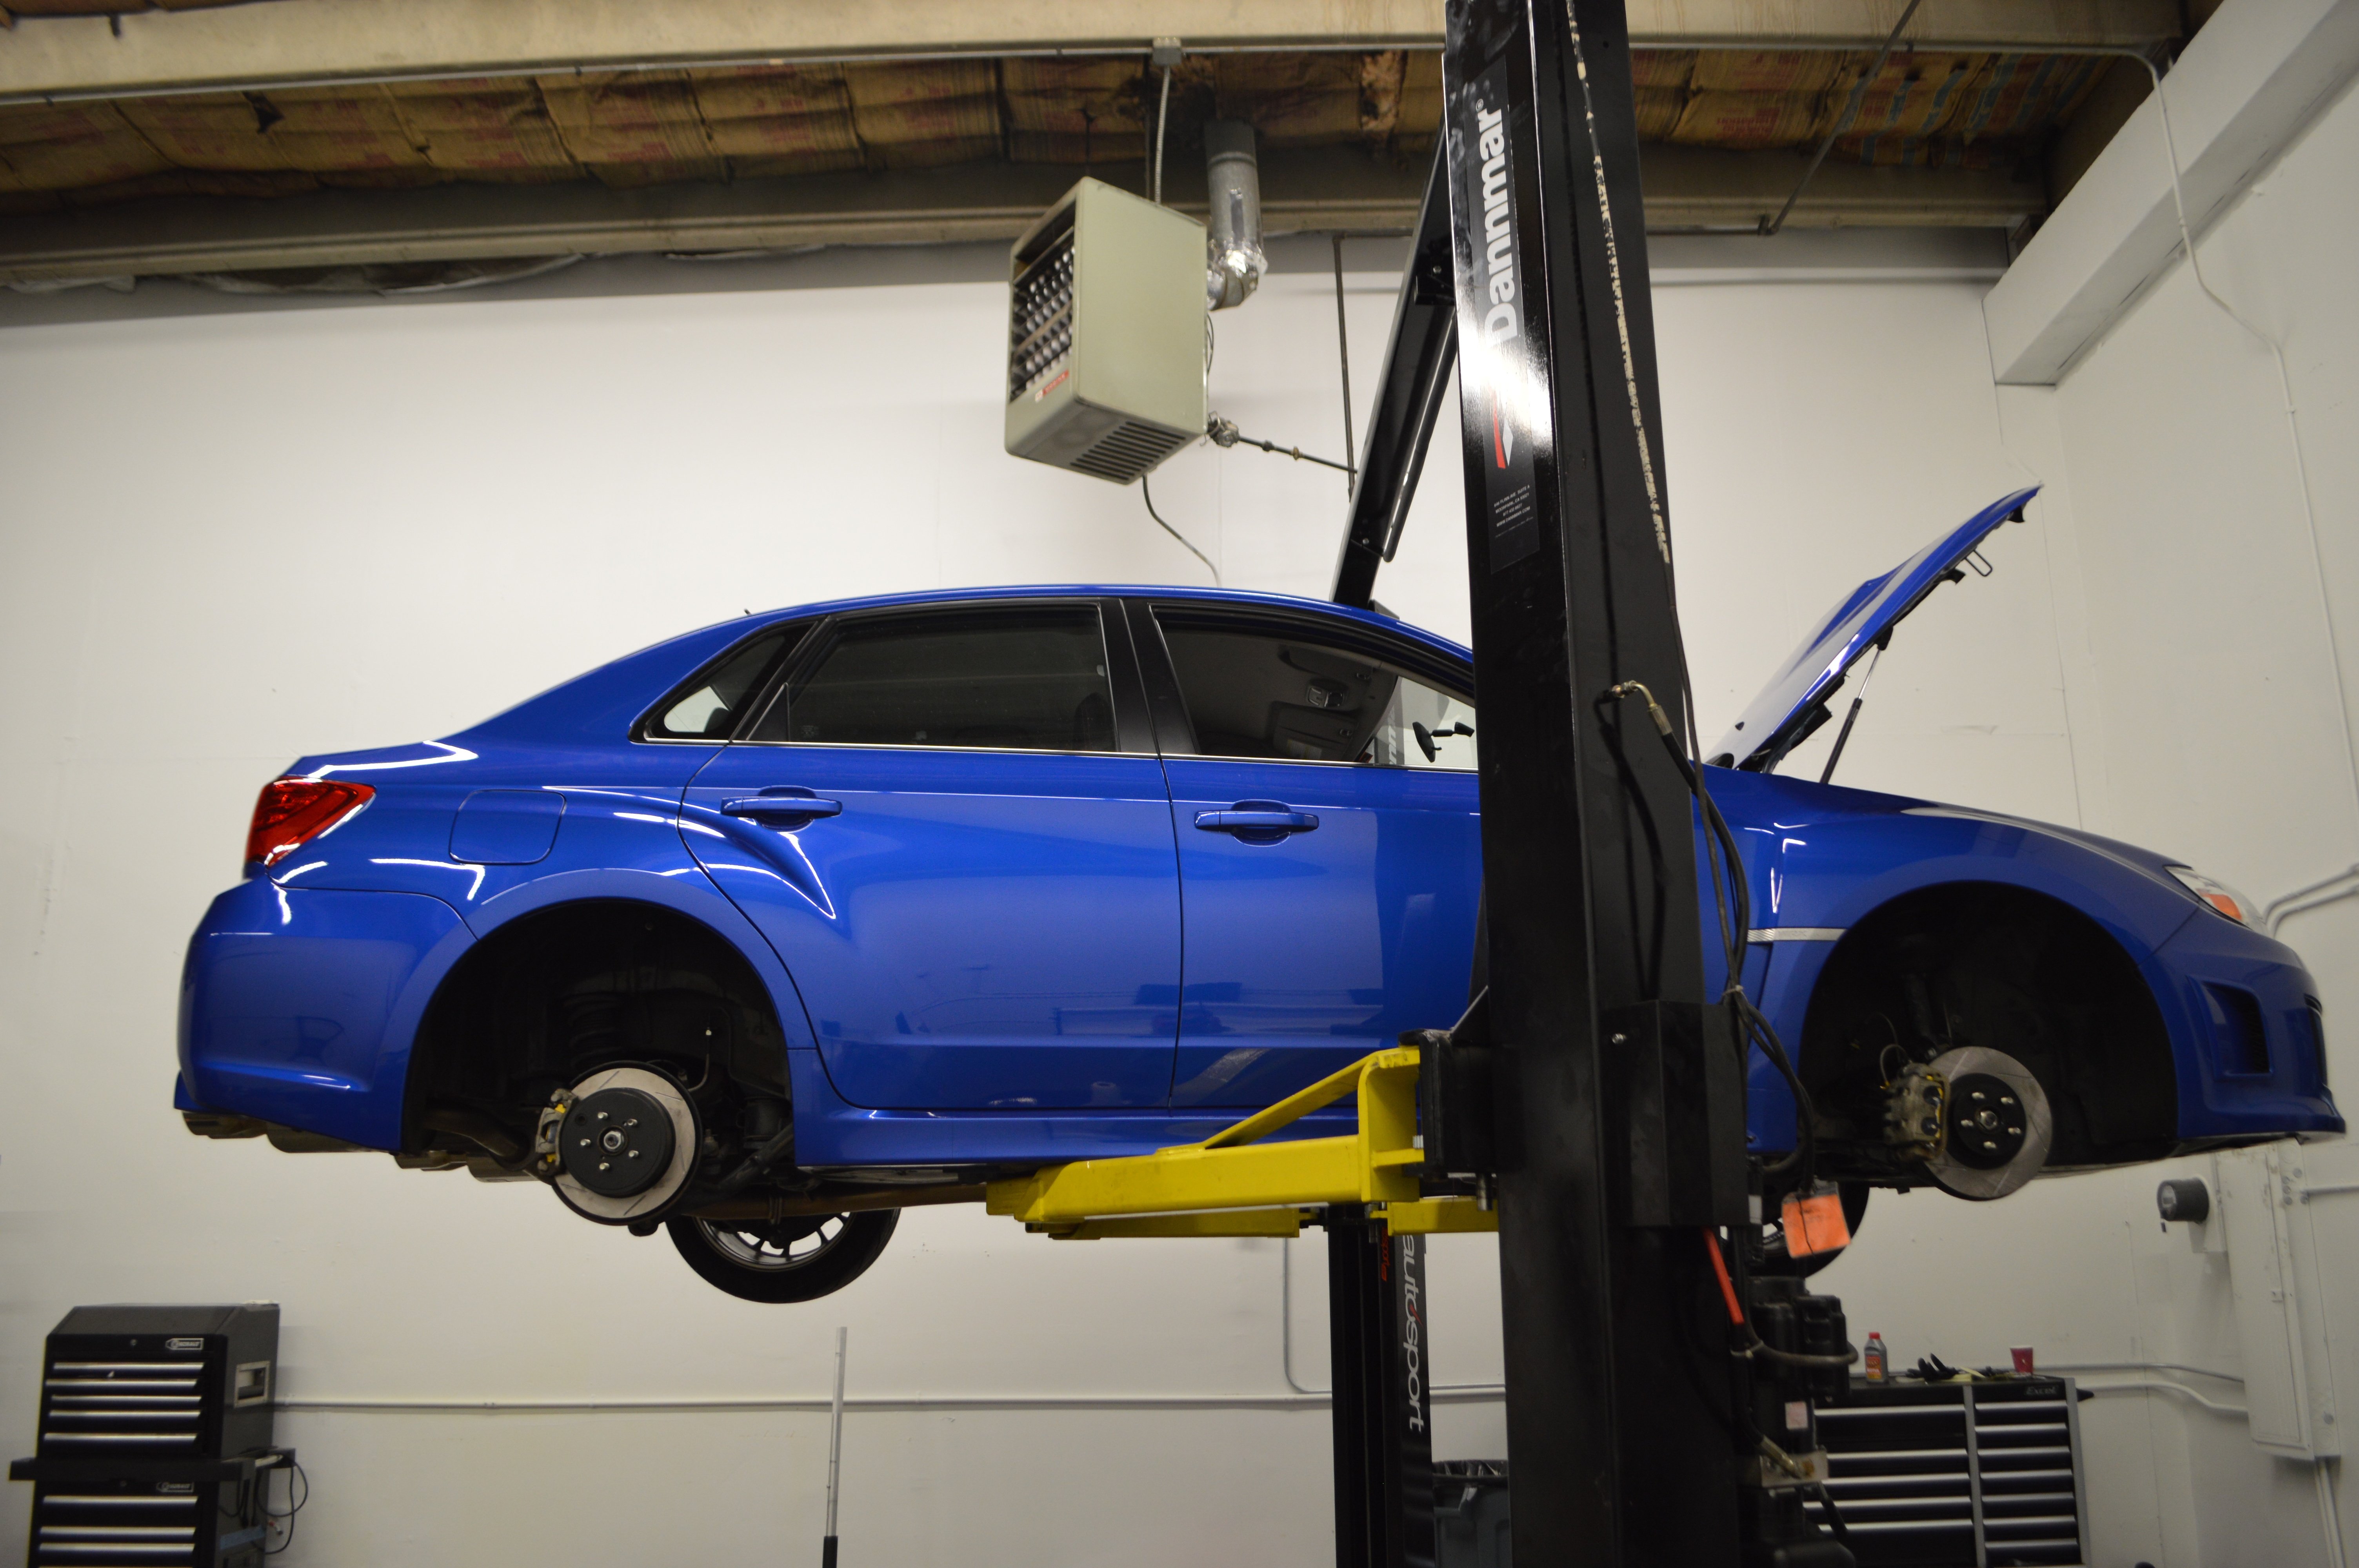
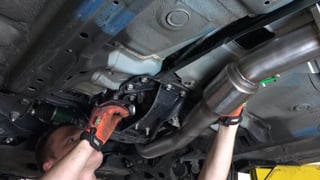
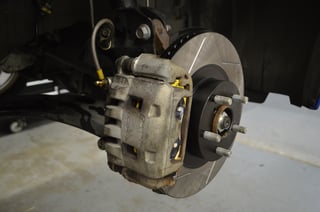
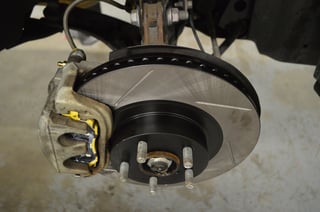
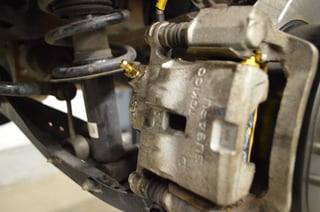
After our first day of lapping at High Plains Raceway, a 2.55 mile road course, I became borderline uncomfortable going deep into the corners by the 3rd session, only completing 3-4 laps each session. It's really amazing to experience how much the car is designed for normal, everyday driving when you go ask those same components to go around a track as fast as possible. But hey, this is why we modify. Sometimes it's for style, sometimes it's for function. In this case, it's 100% the latter. We went with a pretty simple, yet functional setup by way of upgraded pads, rotors, brake lines and brake fluid. We also added Russell Performance Speed Bleeders to each caliper which makes bleeding the brakes a breeze, especially when you don't have someone around to help. This entire brake upgrade can easily be done in a few hours of work and the difference it makes is more than worth the investement. Our WRX was not blessed with the STI version's Brembos so we're stuck with the floating caliper design. It's not terrible, but we definitely notice room for improvement in consistency and clamping ability of the non-fixed caliper design. EBC YellowStuff front and rear pads were called on for the friction component, along with StopTech slotted rotors for the front and rear (OE size and style for the stock caliper) and StopTech Stainless Braided Brake Lines for the front and rear, and topped it off (no pun intended) with Motul RBF600 brake fluid.
.jpg?width=500&name=Wheels%20and%20Brakes%20(13).jpg "Wheels and Brakes (13).jpg")
 |
 |
 |
.jpg?width=320&name=Wheels%20and%20Brakes%20(11).jpg) |
 |
.jpg?width=279&name=Wheels%20and%20Brakes%20(10).jpg "Wheels and Brakes (10).jpg") |
.jpg?width=320&name=Wheels%20and%20Brakes%20(14).jpg) |
.jpg?width=320&name=Wheels%20and%20Brakes%20(15).jpg) |
.jpg?width=320&name=Wheels%20and%20Brakes%20(16).jpg) |
.jpg?width=320&name=Wheels%20and%20Brakes%20(22).jpg) |
.jpg?width=320&name=Wheels%20and%20Brakes%20(17).jpg) |
.jpg?width=320&name=Wheels%20and%20Brakes%20(26).jpg) |
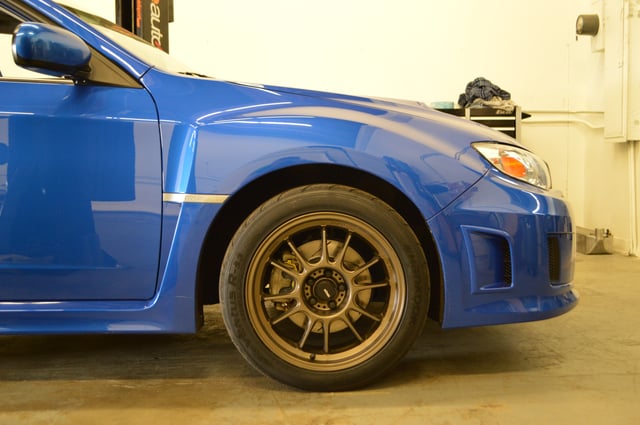
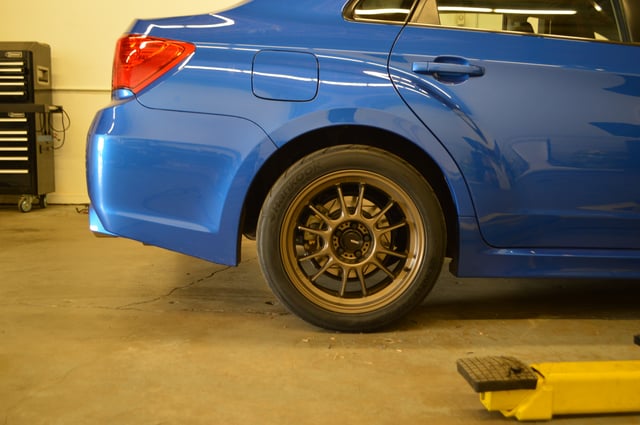
Wheels and Tires
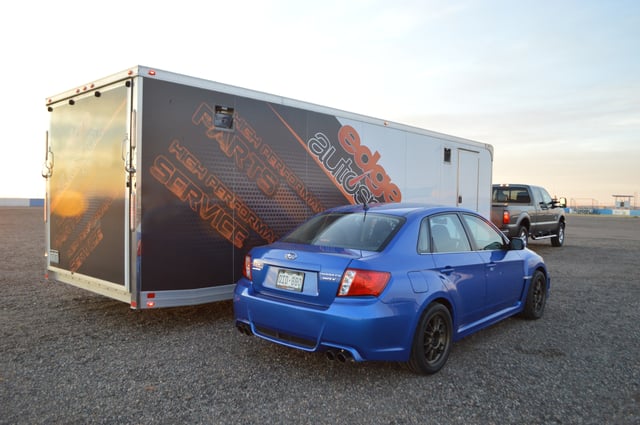
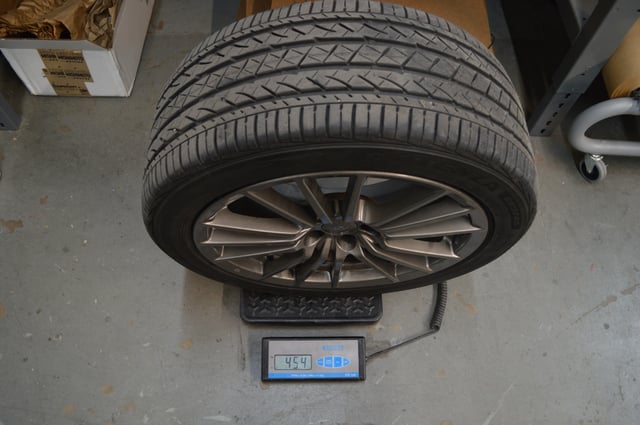
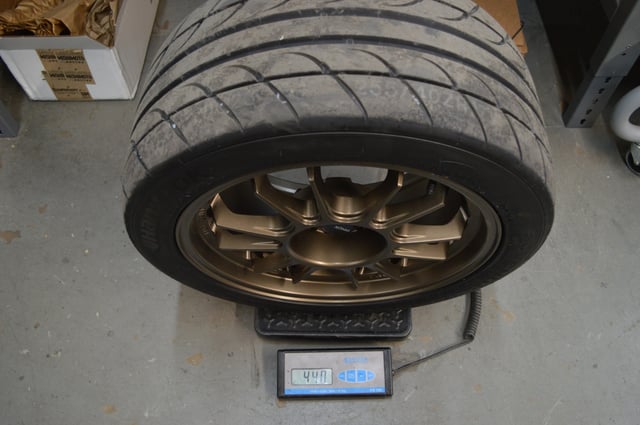
For our wheels, we decided to keep the 17" size. We love 18's on the Subarus but for some reason, we were compelled to keep them smaller, lighter, and more track oriented with this car. 17's give us a lot of tire options and also allow us to be a little more flexible with suspension changes in the future. We went with the Konig Hypergrams in Race Bronze, sized 17"x9" with a 40mm offset. This lines the wheel up in the same inner position as OEM but puts an extra inch of wheel width further towards the outside. This allowed us to choose a nice, wide tire compared to stock. We ended up with Hankook Ventus RS3 tires measuring 255/40-17. To say we're excited about the new stance of the car is an understatement. We really can't wait to bring the chassis down on a nice suspension setup but that will be for the next part in our Project Blue Boxer project car series.
 |
 |
.jpg?width=640&name=Wheels%20and%20Brakes%20(8).jpg) |
.jpg?width=640&name=Wheels%20and%20Brakes%20(9).jpg) |
 |
 |
.jpg?width=640&name=Wheels%20and%20Brakes%20(19).jpg) |
.jpg?width=640&name=Wheels%20and%20Brakes%20(20).jpg) |
Results
Aside from the dyno results which are mentioned above, our brake, wheel, and tire upgrade made a night and day difference. Even pulling out of the garage, you can feel more stiffness and response in the pedal from the stainless steel lines alone. The brakes react instantly now and don't have that "mushy" stock feel to them anymore. The confidence I have in reeling in the car to a stop is significantly improved. This is one of those modifications that isn't as sexy as the turboback exhaust, intercooler, or bigger turbo, but it sure does have a dramatic impact. I highly recommend a brake upgrade for any car that has a basic brake setup from the factory. You'll thank yourself and wish you had done it sooner.
At the track, our baseline time was 2:22.560. You'd be hard pressed to find a full bodied production car run faster than the mid 1:50's on any given day at our local track. We didn't expect to light the world on fire our first time out or on this setup at all. However, I was extremely happy to pick up a full 10 seconds on my next time out with the new setup running a 2:12.032. Something to note, we did have the turboback exhaust on and ECU tuned the first time out. The only physical difference was brakes, wheels and tires on the second time out so the 10 second improvement was solely from these parts. The tires held up very well and provided a lot more grip in every situation where the car needed it. The brakes were the clear difference maker. The ability to brake deeper into the corner contributed to the improved times the most out of all changes made. I probably put on 18 laps before the day ended and the brakes felt solid the whole time.
On the next installment of Project Blue Boxer, we'll add a little more power with some hards parts and throw on a more performance oriented suspension setup, including some parts outside of just the shocks and struts. Make sure to sign up for our blog and receive updates when the next round of modifications goes on the WRX.
Topics: