Search for topics or resources
Enter your search below and hit enter or click the search icon.
August 26th, 2022
2 min read

Not everyone goes for handling upgrades first, but this mod is easy and inexpensive with very noticeable gains. Personally we think it makes sense to get under there and make sure your car will go where you point it before you add power. Not to mention this will give you a chance to find any questionable repairs by previous owners. Some platforms are a little easier than others when it comes to accessing these components, so we want to know exactly how to set these up to minimize the time spent on our backs fiddling with lock nuts.
The stock sway bars on most cars are hollow steel tubes that don't resist much side-to-side flex. By upgrading to a kit like Whiteline's complete upgrade kit, we replace these soft steel bars with solid, heavy-duty beams that will help keep the car flat in the corners.
Generally speaking, adding a beefier bar to the rear axle, and leaving the front softer makes the car want to oversteer or spin, while the opposite makes the car tend to understeer or plow through the corners. We wont dive into that too much further, but if you find the car doesn't turn in like you want, start at the back bar!
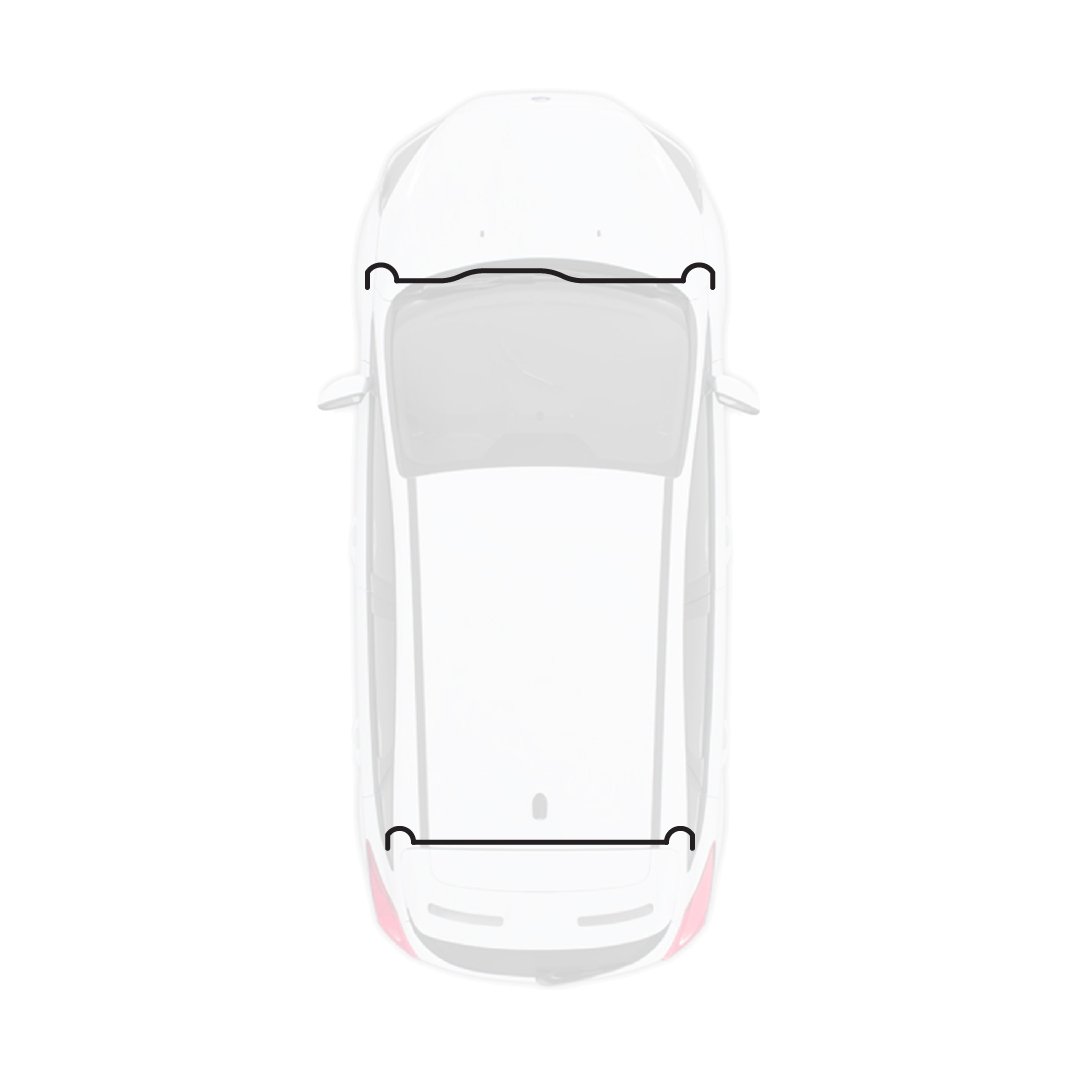 |
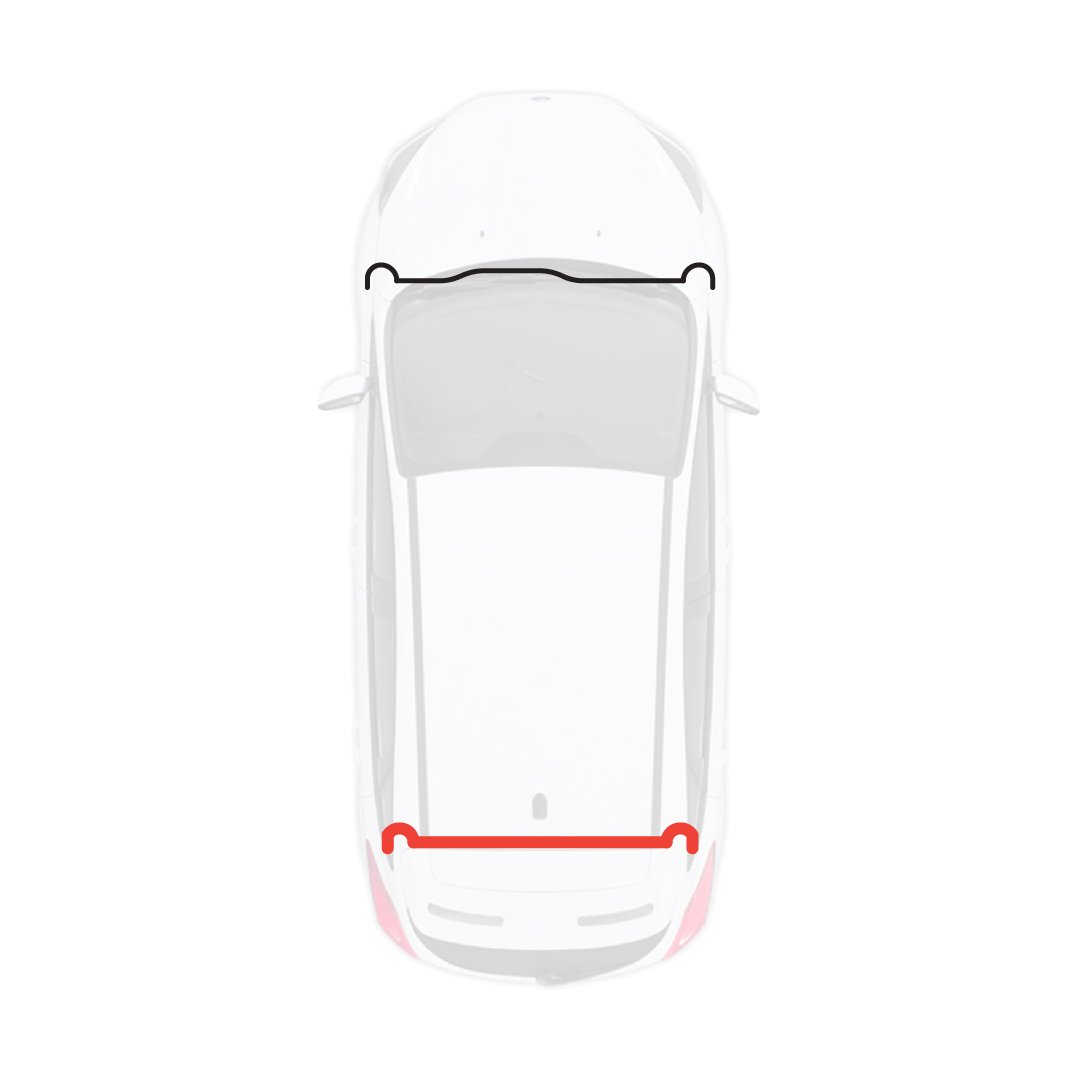 |
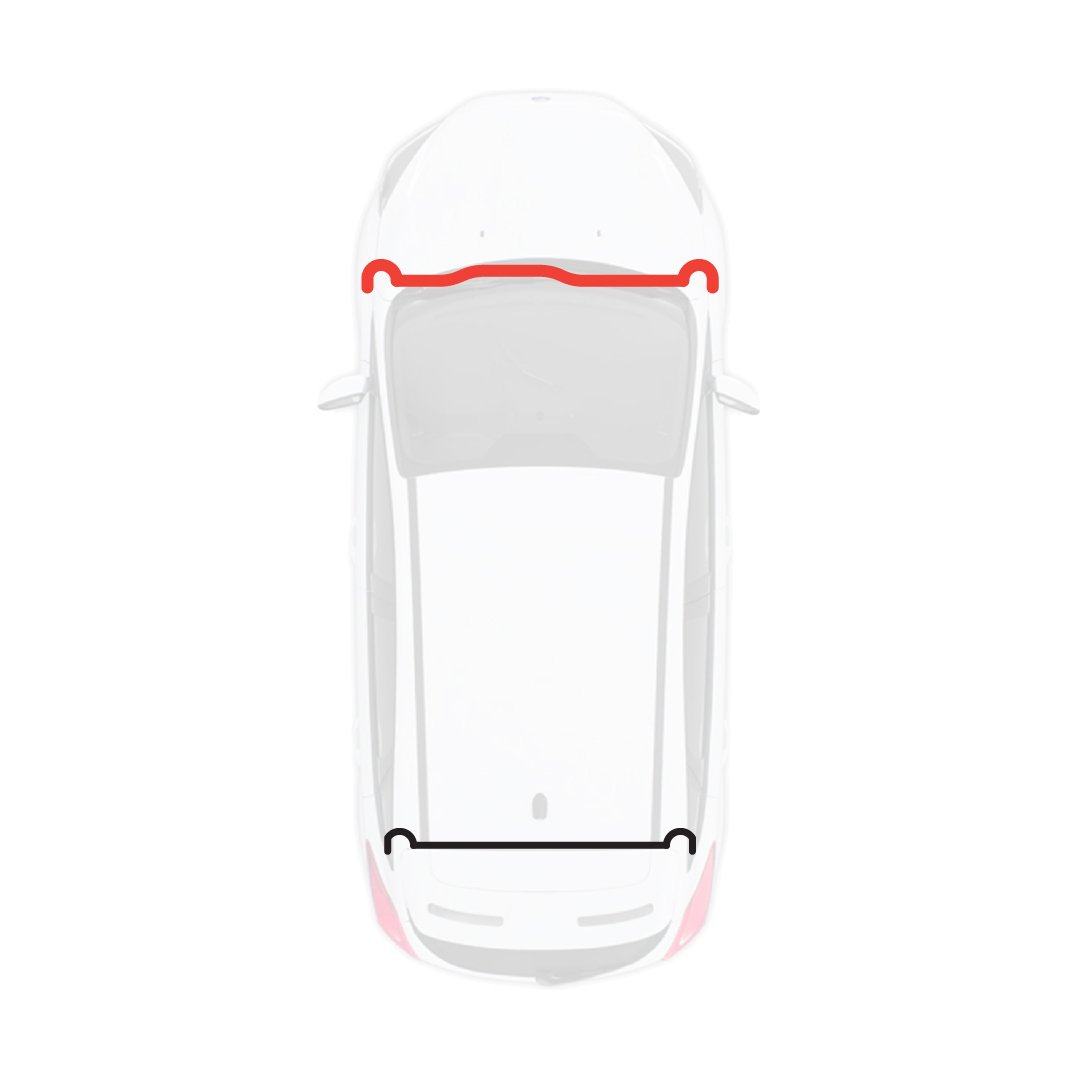 |
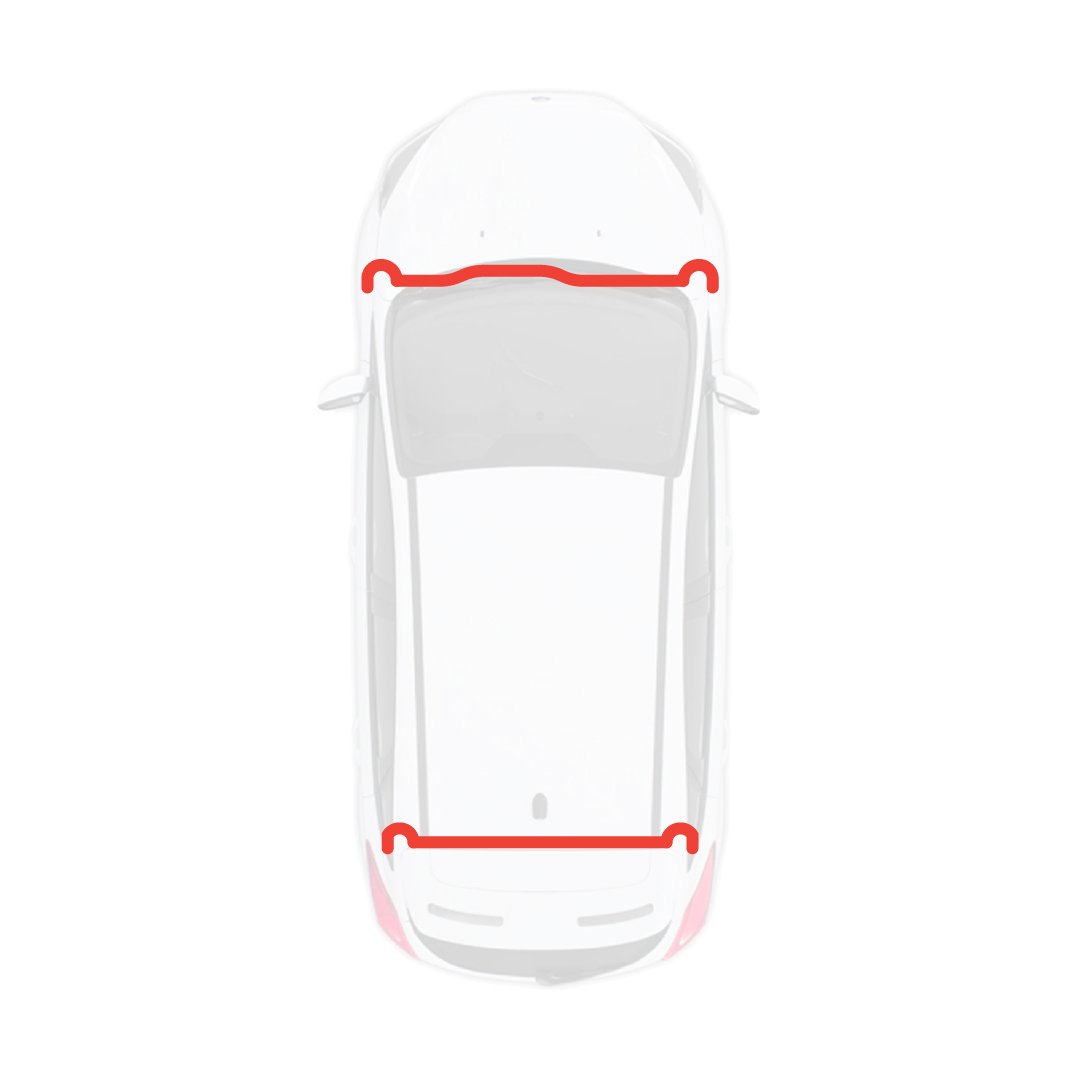 |
|
Stock Sway Bars Soft and lots of body roll |
Stronger Rear Bar Fights understeer (plowing) |
Stronger Front Bar Fights oversteer (spinning) |
Both Axles Stronger Balanced, tight, responsive |
For a FWD car like the Focus ST, generally you are trying to reduce the amount of understeer that most FWD cars have.
If you haven't seen our Whiteline sway bar and endlink video on project Half Send, check out the video below, where we test the effect of sway bars on body roll and stability:
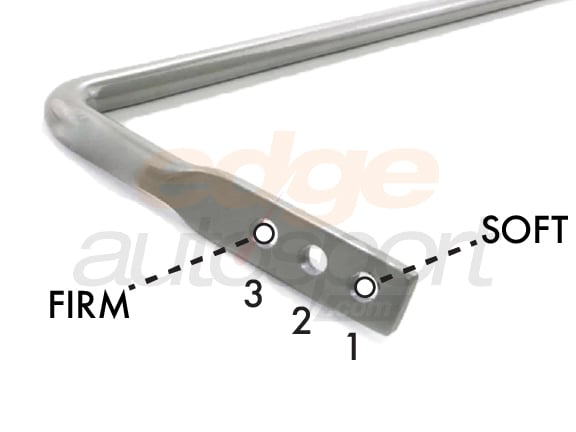
When installing your new sway bars and endlinks, take care not to cross thread anything, and maybe use this opportunity to tap clean threads and freshen up any wrecked bolts forced in by the last owner. Once everything is in place, its time to decide which bar settings you will use. Most aftermarket sway bars will have more than one mounting position for the endlinks on either side of the bar. Choosing the first, second, or third mounting hole will effect the handling characteristics in different ways. A good way to keep track of your adjustments is remembering that a more stiff sway bar generally creates more oversteer; the shorter the bar, the stiffer it gets. With that in mind, you might want to start on the softest setting and work your way in while testing each position on the road or track.
As for the adjustable endlinks, the goal is balance for each side of the car. The adjustability built into the endlinks allows for installation at different ride heights without preloading the sway bar.
In order to correctly install the endlinks, the car must be sitting at its natural ride height, which means you need any new suspension bits installed and settled before you lock in the endlinks. Once the wheels are under load, you can adjust the center barrel left and right until you find the position of least resistance, this indicates there is no more preload on the sway bar and it's safe to tighten down the lock nuts.
Even adding upgraded end links to your stock bars will remove some slack and improve handling!
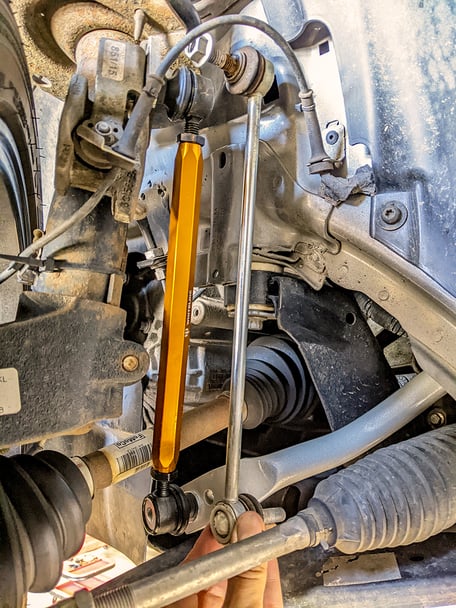 |
Look at the difference in build quality with Whiteline vs. stock! - - - If you saved your instructions, they usually call for checking the endlinks after some arbitrary amount of miles driven, so make sure the lock nuts haven't loosened up. Frankly all us DIYers should be double checking after a shakedown for safety sake, it's easier than getting a tow from a remote mountain road in the rain... |
If you are ready to improve your cornering, hit the link to our website and check out what will fit your ride, kits are available for almost every car out there, and it's always a good call to upgrade!
If you are unsure about anything, don't hesitate to reach out and one of our fitment nerds will help you get the right parts for how you drive.
Remember, slow in, fast out, happy cornering y'all!
Topics: